Step 1: Produce the pattern
You will need to have your pattern on a piece of paper. Whether someone drew it onto the paper, or the "printer" produced it, either's fine.
If the pattern will only be used the one time, regular printer paper is the superior choice because it's easier to get largish holes in a thinner paper, and that results in a clearer image on the fabric.
For something that may be used a number of times, go with light card stock.

|
Materials list:
A bit of cork to prick onto A bit of felt to cushion the pouncing part A small amount of very fine powder* A sharp (here you see that my needle is anchored in a cork for ergonomics) An applicator (here it is a roll of felt) A pen (not shown) * The powder that came in my kit is chalk and lamp black (aka soot). These days we can get chalk dust in a variety of colours from the hardware store or sewing supply store. There are also vendors online that sell prick/pounce kits, and refills of the dust.
If you are grinding your own, remember you are looking for a consistency of dust, powder and soot. |

|
Step 2 Make the holes
Place your pattern on the cork and take your sharp to it. Poke holes along the lines of your drawing. Be sure to mark the end of lines, corners and curves. Make sure the holes are big enough, especially on stiffer paper. |

|
|
Step 3 The Pounce Part
Place your pricked pattern on the fabric where you want it and hold it firmly. Pins or painters' tape are also options. Apply some dust to your applicator. Resist the urge to daub or bounce your applicator onto the pattern. The term "pounce" implies a certain bouncy motion, but this will result in powder everywhere and an incomprehensible image. Instead place the applicator gently onto the paper and *rub* over the holes. |

|

|
Step 4: Resulting Image
The image on the fabric once the pattern is removed will be a dotted outline, hopefully clear enough to be able to discern the intended shape. |
|
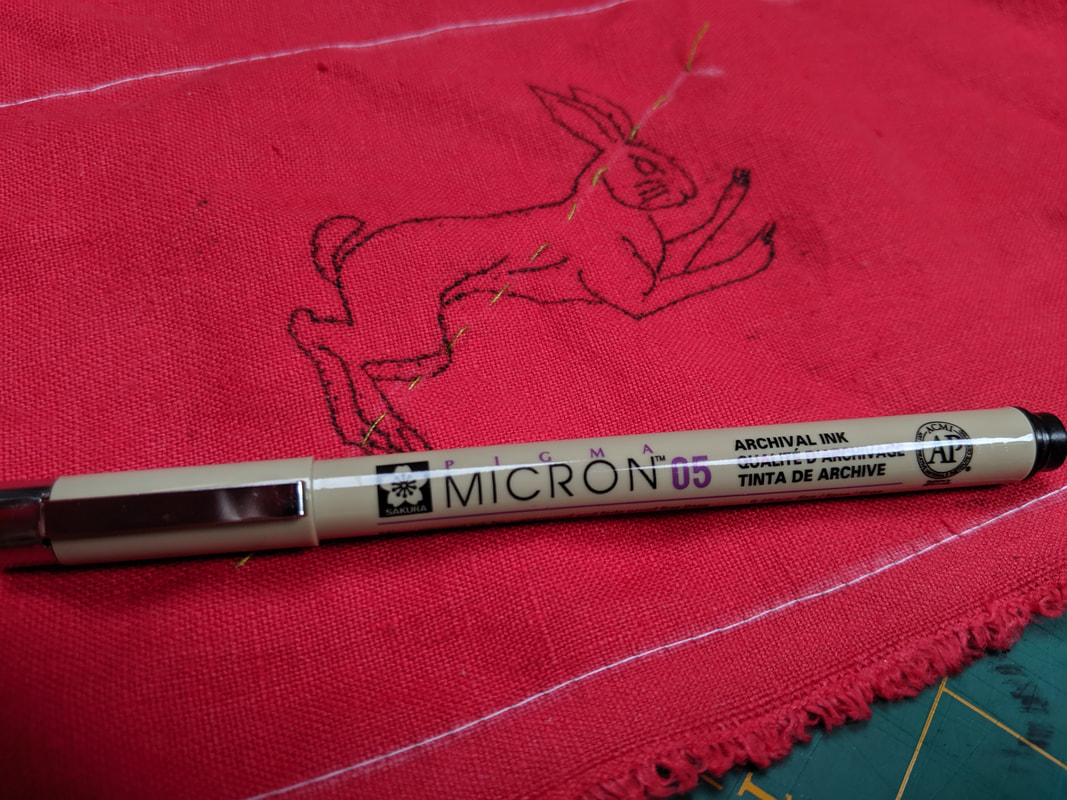
Step 4.1 Connect the dots
Using a felt-tip pen, connect the dots. Notice how smudgey and messy this picture looks. That's the soot (aka lamp black) that gets everywhere. It brushes off soon enough with handling. Step 5: Start stitching You now have a permanent outline that you can store away for years or start stitching over right away. |
